How to Install Emby Media Server on Ubuntu 24.04
This guide shows you how to install the Emby Media Server Emby media server on linux/" class="sal-link" rel="noopener" target="_blank" data-sal-id="13298">ubuntu-24-04/" class="sal-link" rel="noopener" target="_blank" data-sal-id="16907">Ubuntu 24.04. Emby gathers your movies, shows, and music into one library. It fetches artwork and details for you. You can then stream your files to TVs, phones, or web browsers.
Why? Running Emby on Ubuntu gives you a stable, powerful home for your media collection.
What happens? You will have a private streaming service that you control entirely.
Install Prerequisites
First, make sure your system is up to date and ready. Open your terminal and run these commands:
sudo apt update && sudo apt upgrade -y
sudo apt install cec-utils libasound2t64 libatomic1 libc6 libegl1 libgcc-s1 libpulse0 libstdc++6 ffmpeg va-driver-all -y
We install ffmpeg and va-driver-all to help your server handle video playback smoothly using your computer’s hardware.
Download and install Emby
Always use the latest version. Visit the Download Emby official Emby download page. We will use a script to grab the latest file automatically:
URL=$(curl -s https://emby.media/community/index.php?/blog/rss/1-emby-announcements/ | grep -o 'https://github.com/MediaBrowser/Emby.Releases/releases/download/[^"]*amd64.deb' | head -n 1)
wget $URL
sudo dpkg -i emby-server-deb_*.deb
Once finished, start the server:
sudo systemctl start emby-server
sudo systemctl enable emby-server
Open your browser and go to http://localhost:8096 to finish the setup.
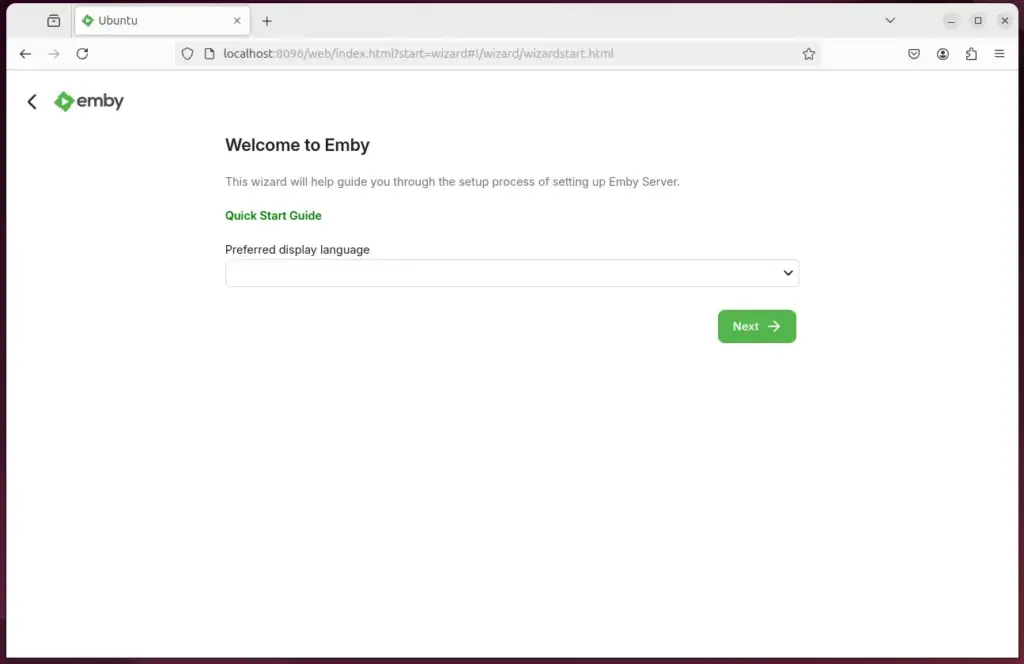
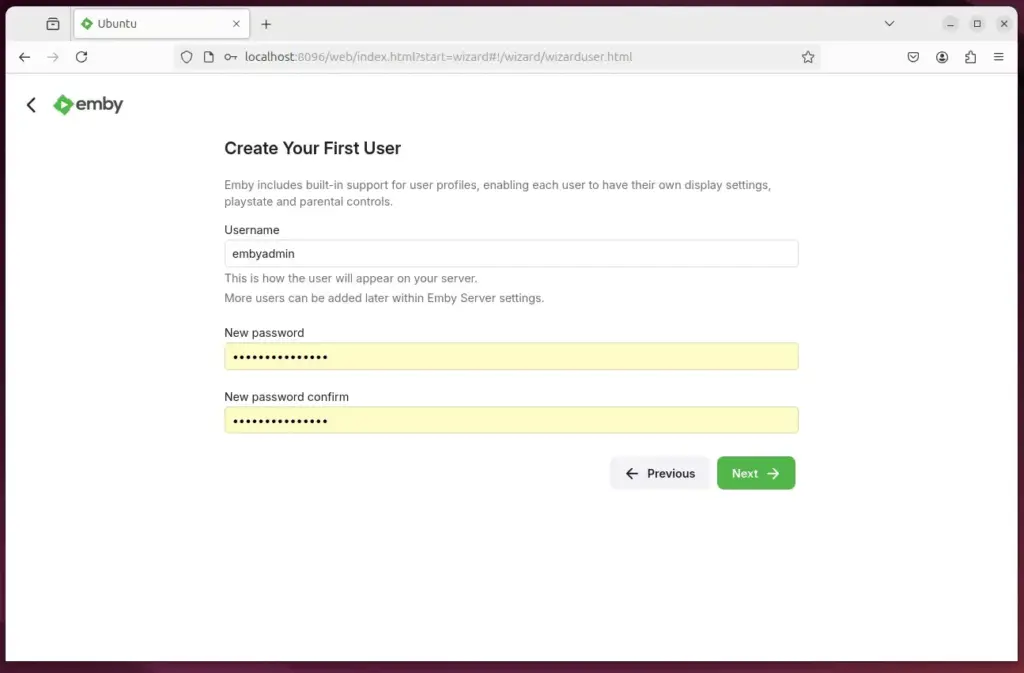
Create and admin account
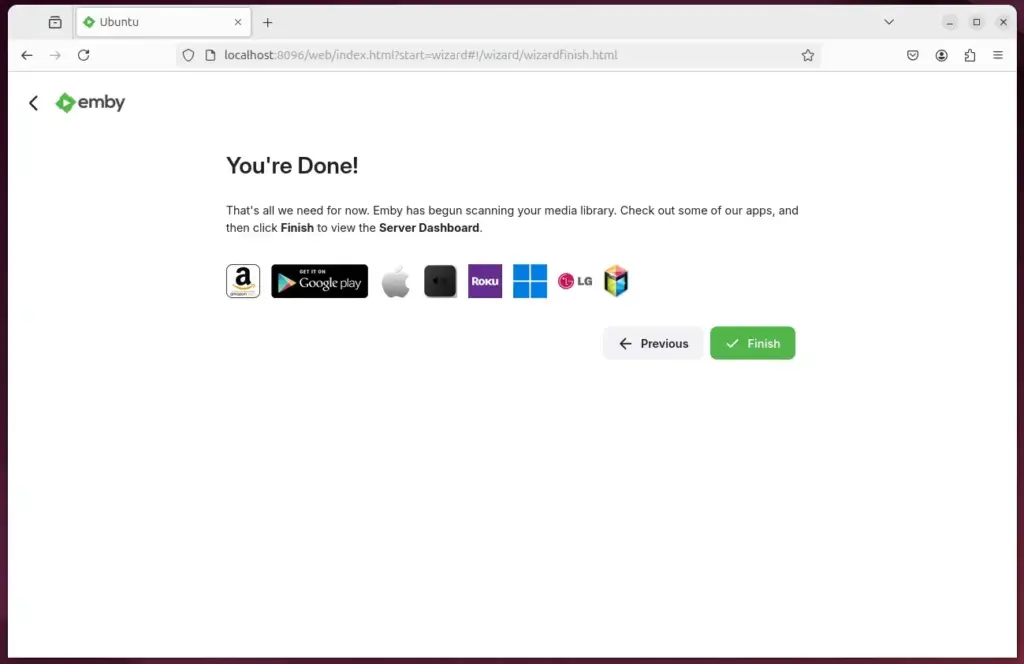
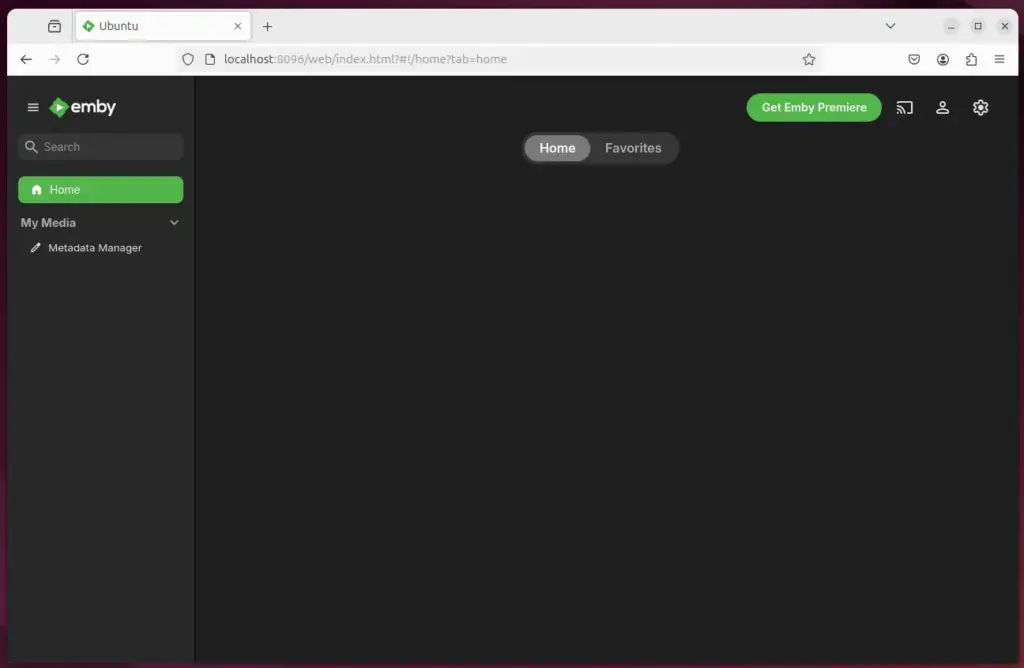
Follow the screen prompts to set up your admin user. Once logged in, go to the Dashboard to secure your server:
- Two-Factor Authentication: Go to Users > Select User > Profile. Enable 2FA to keep your account safe from unauthorized logins.
- Hardware Acceleration: Go to Dashboard > Playback. Choose VAAPI or NVENC (depending on your hardware) to ensure your server uses the graphics card for faster streaming.
Set up a reverse proxy
To access your server from outside your home using a custom domain name, use Caddy. It is a modern tool that automatically handles your domain and creates SSL certificates for you.
Install Caddy, create a file named Caddyfile, and add this simple configuration:
yourdomain.com {
    reverse_proxy localhost:8096
}
Caddy will manage all the security and SSL certificates for you automatically.
Conclusion
You now have a professional media server. Remember these steps:
- Keep your system updated with apt upgrade.
- Use hardware acceleration for better performance.
- Turn on 2FA to protect your account.
- Use Caddy for easy, secure remote access.
Your media is now ready to stream anywhere!
Was this guide helpful?


Leave a Reply Cancel reply